Shooting for Consistency
10-15 years ago this wasn’t even a concept. I wish I had access to photographers’ old websites so I could show you just how differently photography was branded compared to now.
More and more potential clients aren’t even going to your website. They’re checking out your other portfolio: Instagram.
Instagram can be a photographer’s best friend or worst enemy. Thanks to this social platform, users can take a look at our most updated portfolio in a millisecond. We’re judged only by the last six pictures we posted.
When potential clients are looking at our images that quickly, and that displayed on that tiny mobile screen, there’s one thing that will stick out in their minds. “Does this brand look put together?”
Make no mistake, photographers (and really all businesses) on Instagram are viewed and evaluated as a whole, not by single images. Consumers are wise to what a good, cohesive, consistent, branded business looks like and they expect it.
In addition to looking at how many followers you have to determine if you’re a reputable business, they will look at your images as a Collective.
Scared yet? You shouldn’t be!
As a photographer, this is your strong suit. If you haven’t honed in on your photography brand image yet, now is the time to start.
As a photographer you have control over lighting like no other businessperson does. There are three easy ways you can start displaying a strong brand, using lighting as your guide.
Finding And Creating Consistent Light
This is where it starts. Your effort here must be very intentional, and not haphazard, or your outcome won’t be successful.
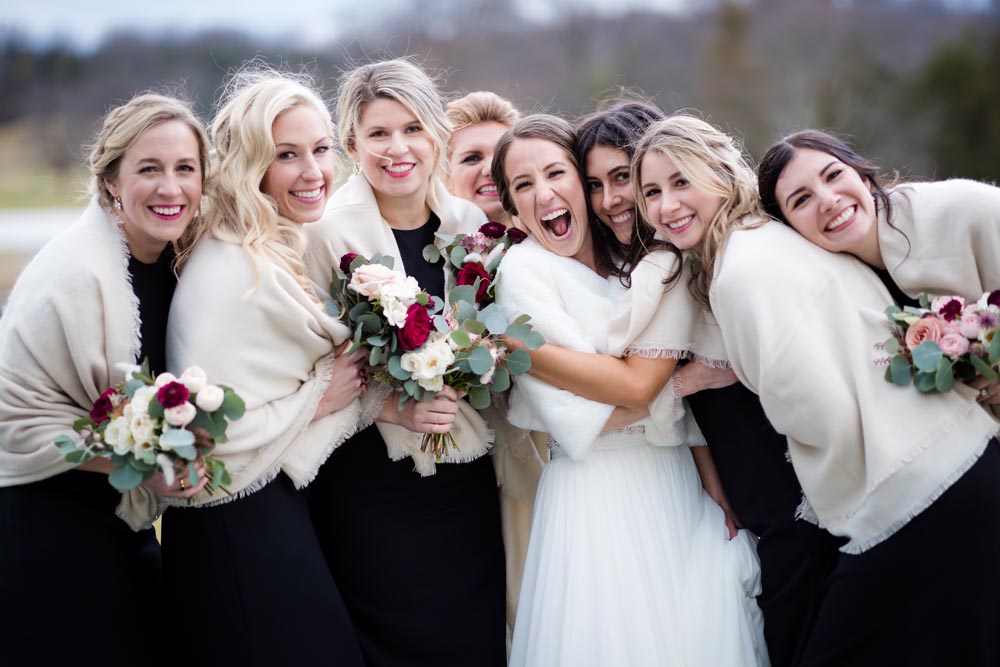
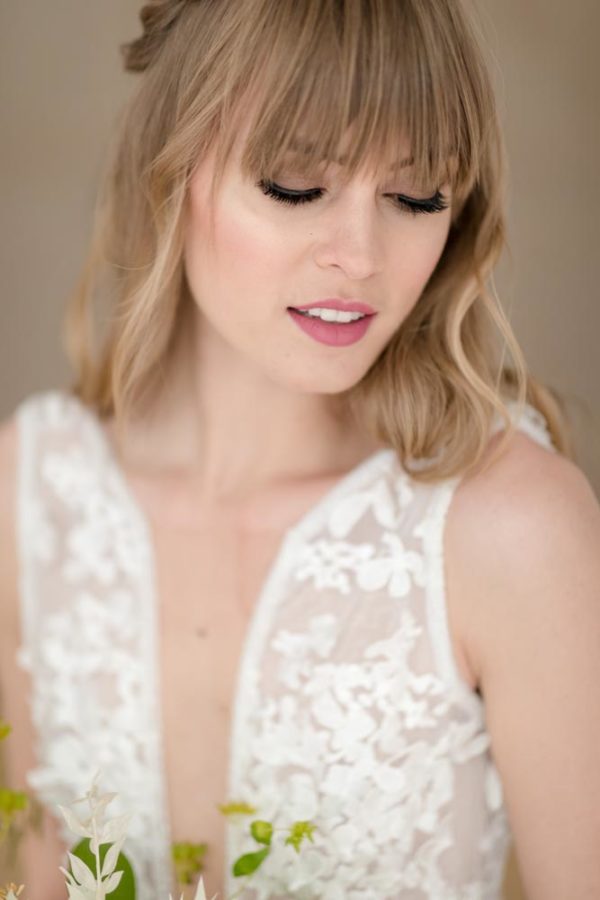
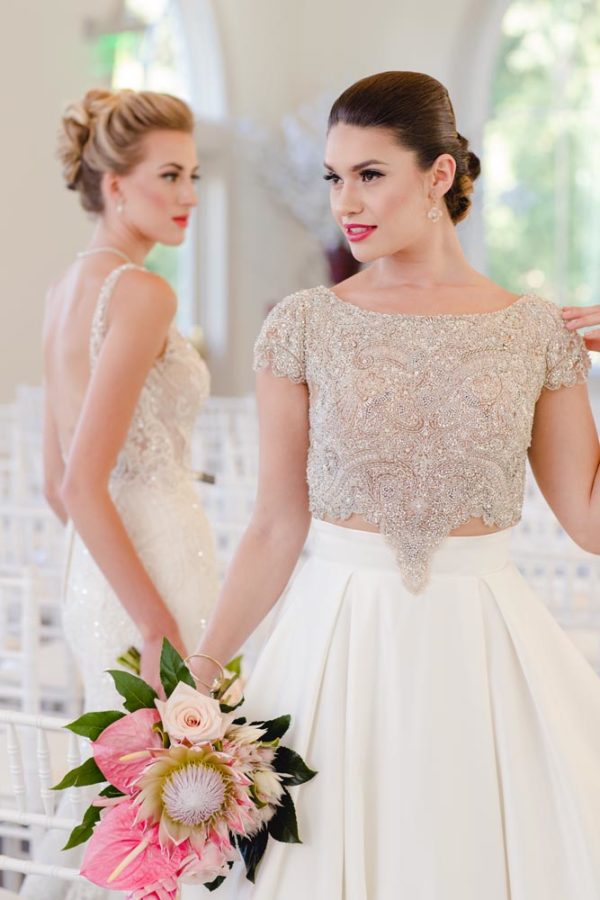
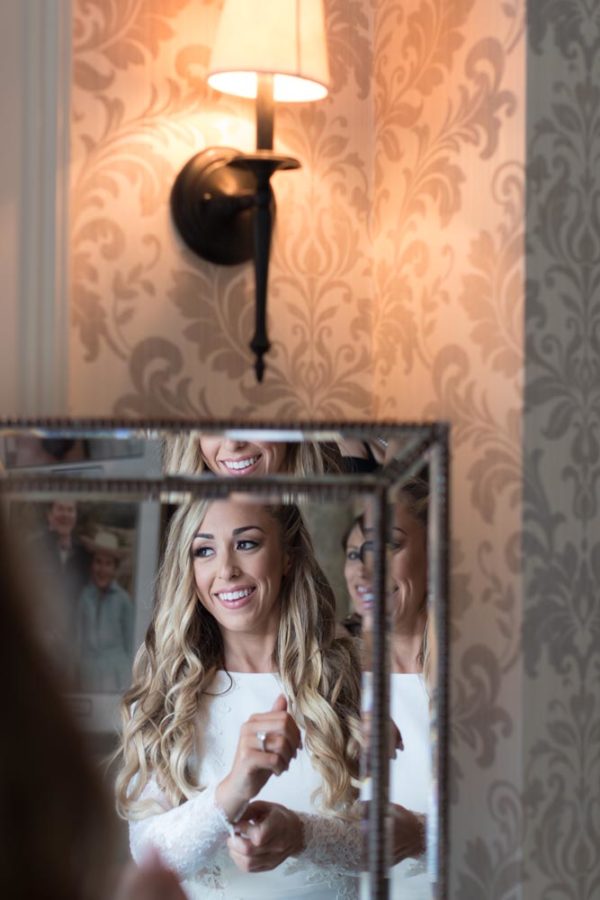
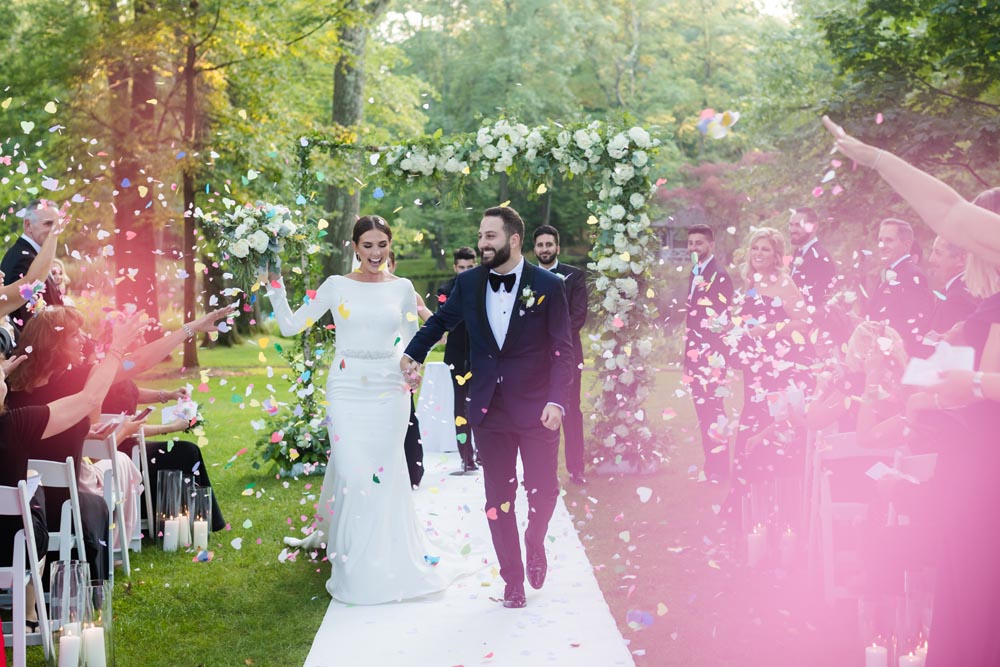
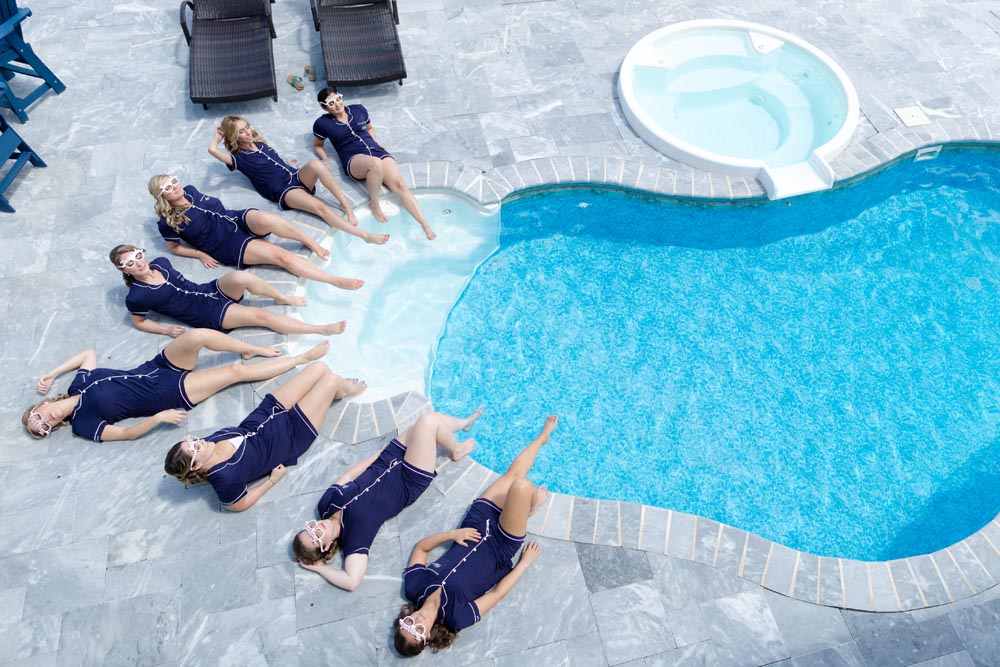
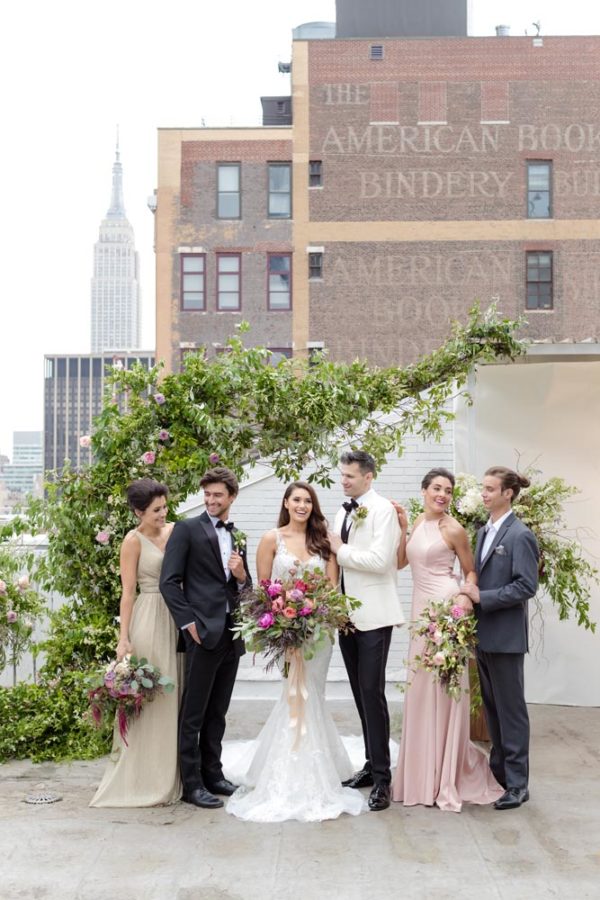
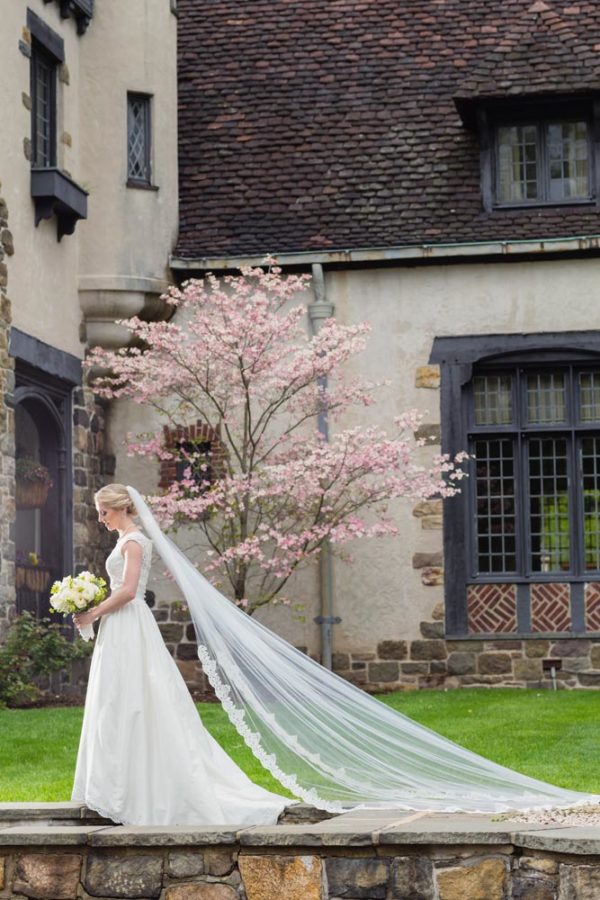
I’ve decided that my images are to be bright, vibrant and soft. So, when I’m deciding where to photograph details, or the bridal party, or the bride and groom, I’m placing them (and any other light that I’m using) fairly consistently in the same kind of places.
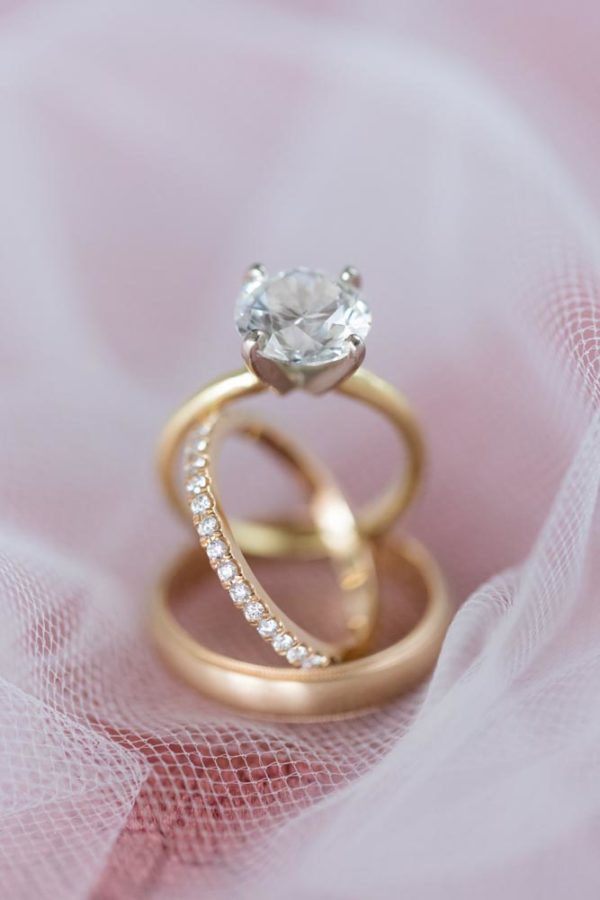
For example, if I’m looking for a spot for the bride and groom, I’m looking for a background that is backlit, and I plan on filling in the light in their faces with a reflector or off-camera flash. If I had a more moody style to my imagery, I might always look for a contrasting background with light coming more from the right or left.
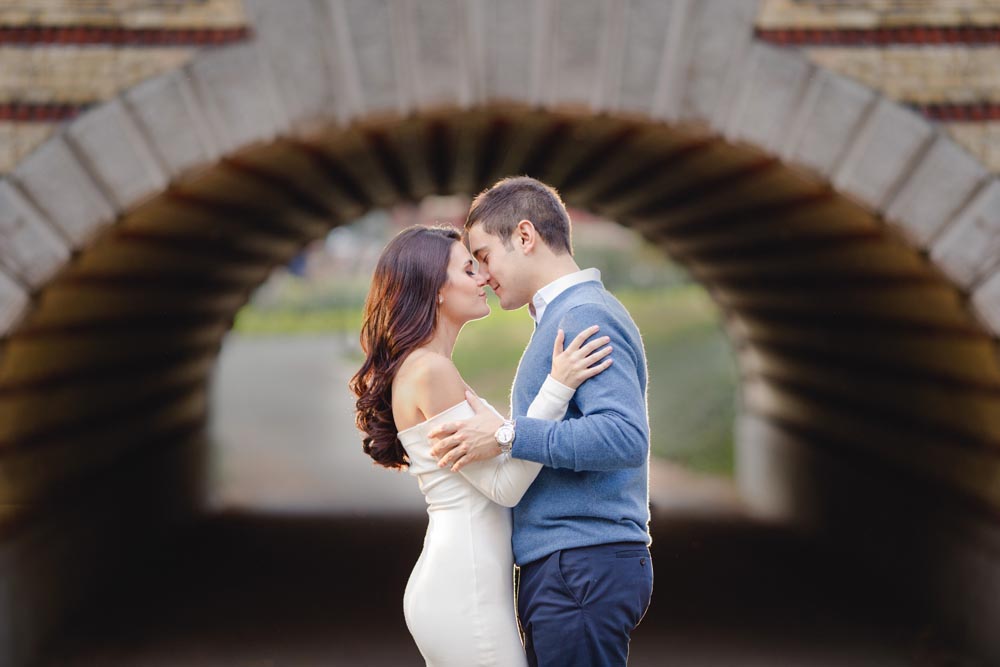
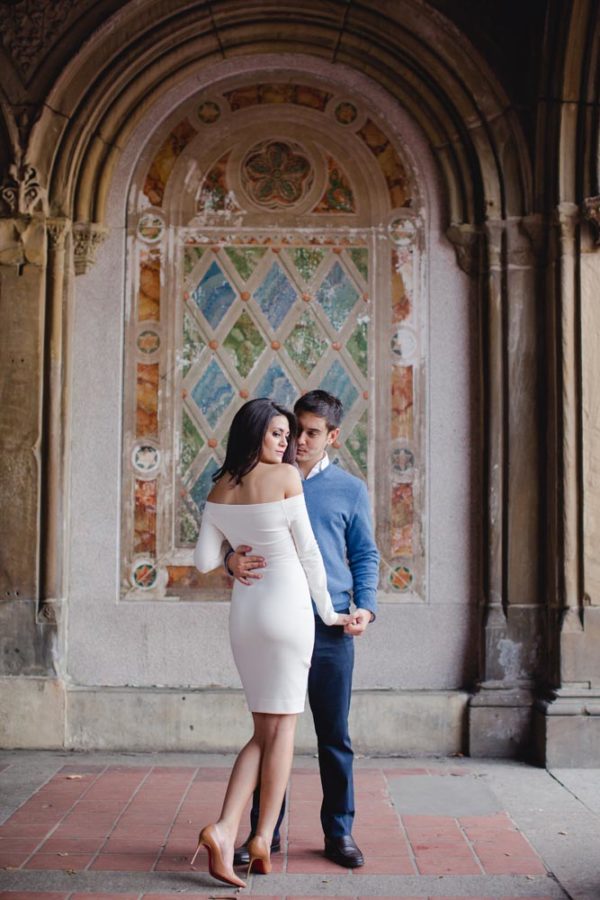
This isn’t to stifle creativity. I’m not saying that every picture you take must look exactly the same. Of course I take pictures that are more moody, and moody photographers will take pictures that are more bright and light.
But the overall body of your work should be collectively parallel. Not only for social media branding, but so that you fulfill the expectations you’ve given to your clients. After all, if you have nothing but dark and moody pictures on your website, but then half of your pictures are light and airy, you probably will have clients wondering what happened to the photographer they thought they hired.
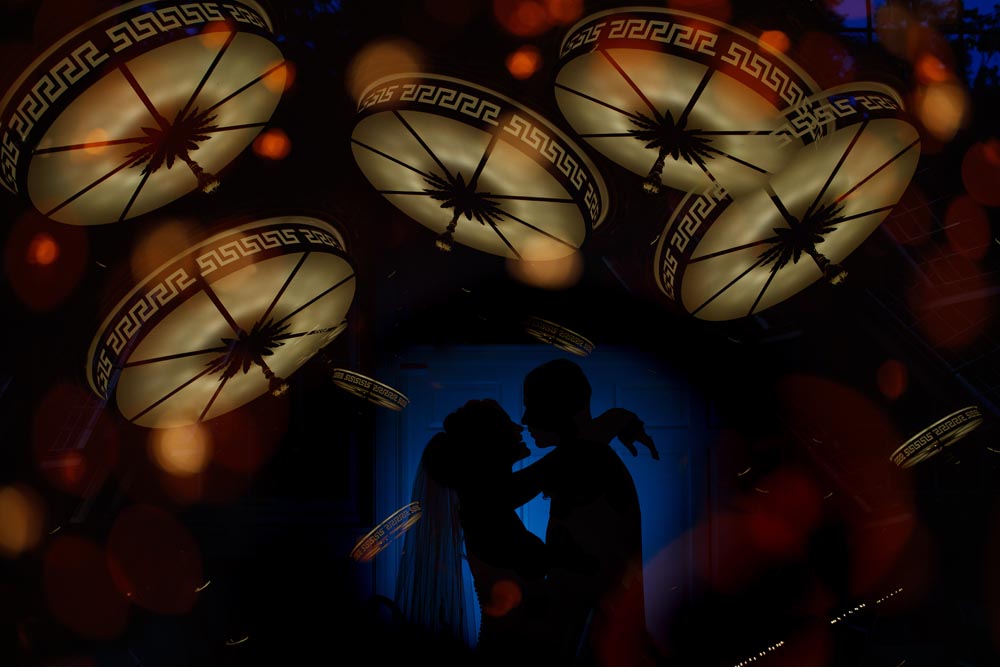
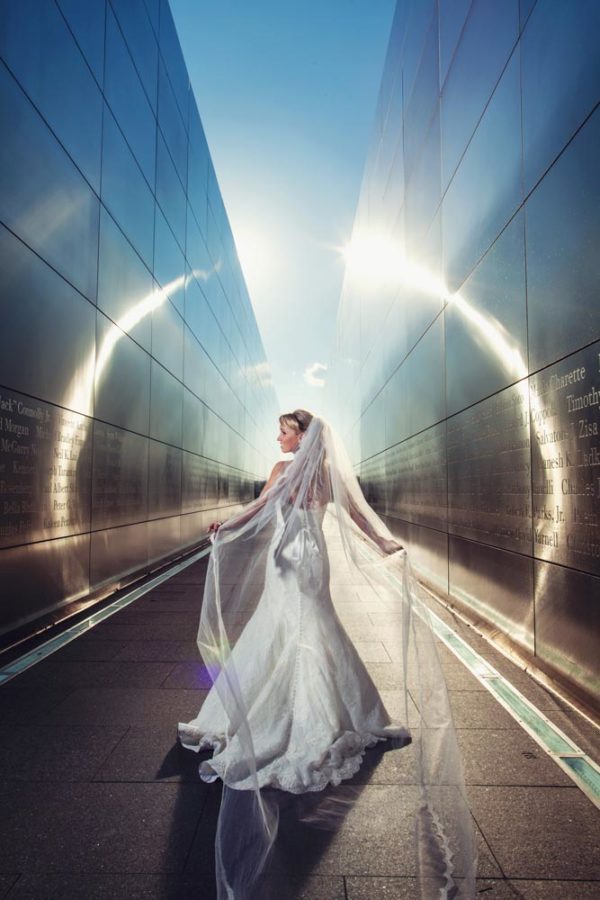
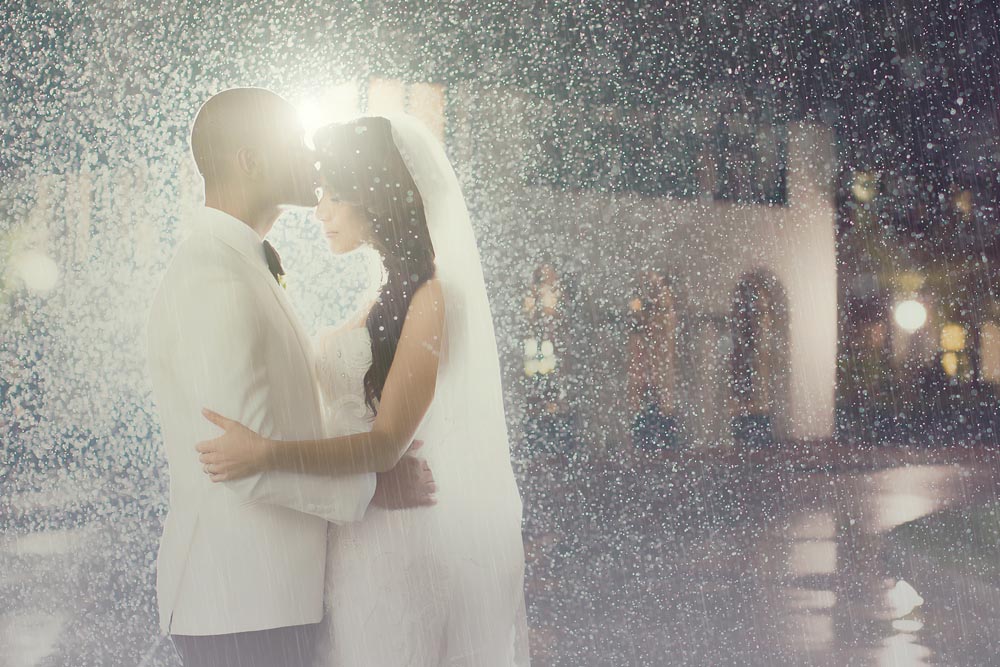
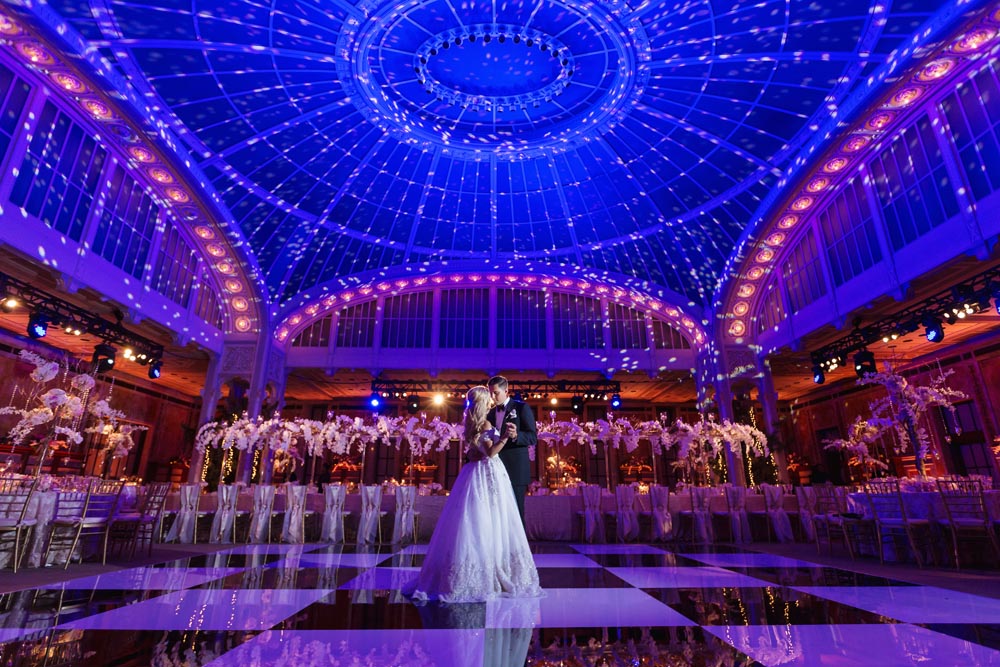
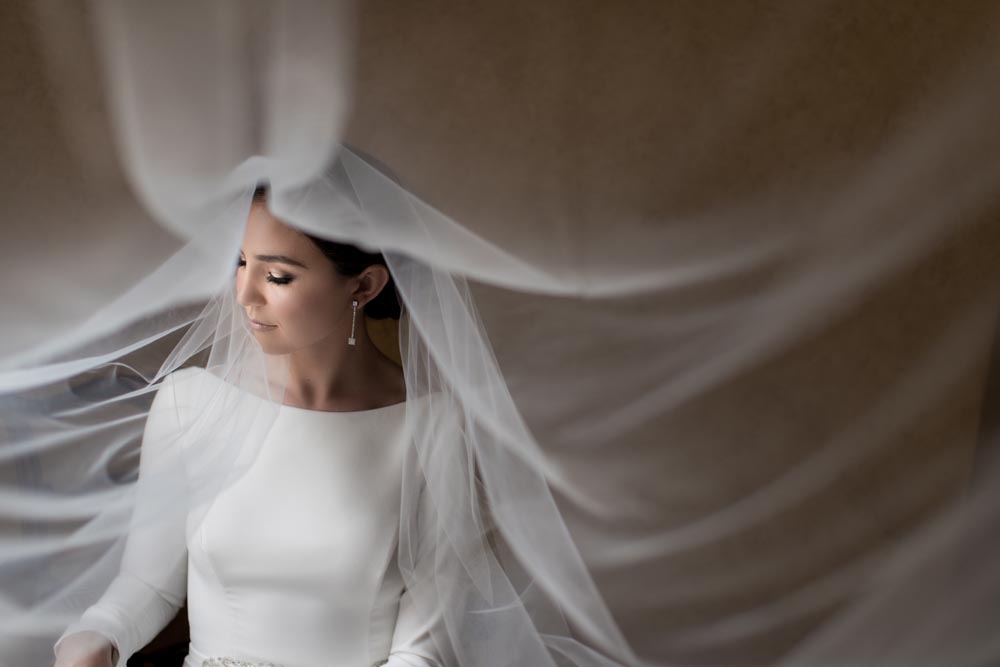
Creating Light If You Can’t “Find It” Naturally
You may be a natural light photographer, but what happens when the natural light just isn’t cooperating? You don’t want to run the risk of not delivering the style and quality photos that you’ve promised your clients. You need to be able to create the light instead.

I know off camera flash can be daunting for photographers who shoot natural light. I remember trying to learn for years and getting frustrated with the existing technology and my failing results. Thankfully, it’s gotten much easier.
If you’re ready to learn off-camera-flash, I have something for you. I’ve written a book all about it. But it’s unlike any other book on flash out there.
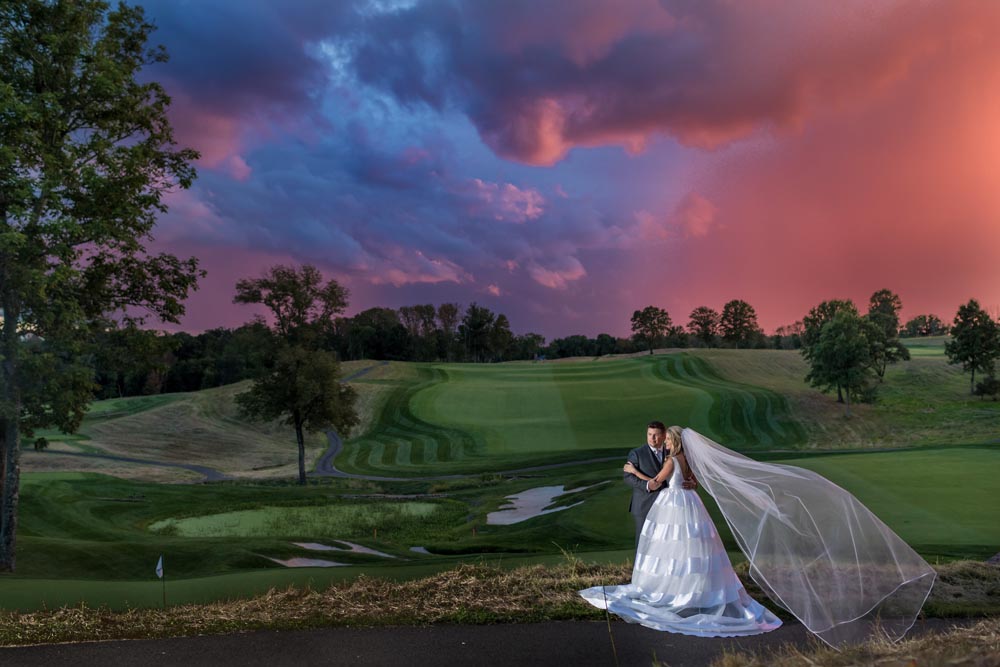
This is “scenario-based” teaching, and without all of the complicated terms and photograph-ese. You want to make it look like golden hour? Here’s what you need. Looking to create a magenta sunset? Here’s steps 1, 2 and 3. It’s simple, easy to understand and you don’t need to read the whole book to start trying it out right away.
It’s being published by Rocky Nook in February, and you can pre-order yours right here.
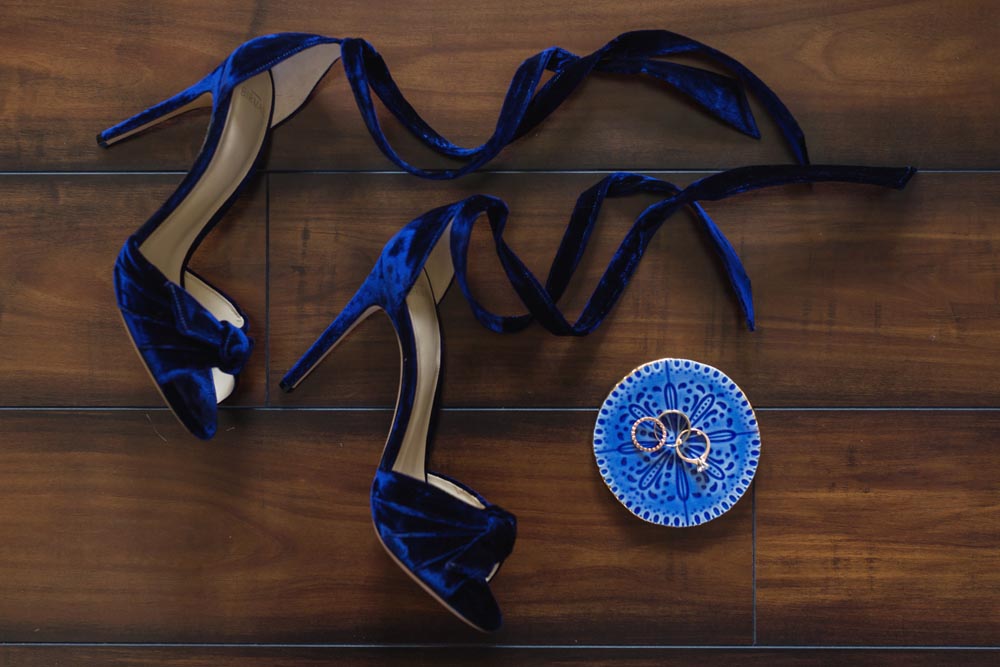
Editing Consistently
The next step to creating consistently lit photos is in the post-processing. As we know, there are limitless ways to edit, enhance and potentially destroy a photograph. This is where I see most photographers make mistakes, and you’re not alone! Just scroll down my Instagram feed a little while and you’ll see my all-over-the-place editing and posting (@vanessajoy).
Thankfully, post-production companies (mine is Freedom Edits – $50 off if you use that link) are helping out a lot of photographers now-a-days. When you send your work out to be edited by another company, one of their primary goals is to give you consistent editing. I believe this is teaching photographers the importance of editing consistency and helping their urges to edit according to their mood that day.
This is a place where decision-making has to take place either with your editing company or on your own. As much as one photo might look killer with a vintage edit on it, it just won’t bode well to have it sitting next to a vibrant, colorfully edited image. Make a decision on what you want your images to portray and stick to it.

Again, this isn’t to put you into a box of any kind. You absolutely can change your editing style, and your lighting style even. But these kinds of changes should be done gradually and over time, not daily and whenever the feeling flows.
Another smart move in the Instagram world is to purposefully set your first six pictures up perfectly if you have a marketing push coming. For example, if you know that you’re going to have an ad running, or be implementing some kind of Instagram marketing, anything that’ll drive traffic to your profile, make sure that you’ve “set-up” your profile spectacularly.
Remember, most people won’t even give you a scroll, they only see the first six images you’ve posted. So, if you’re knowingly making an effort to push people to your Instafeed, make sure those first six pictures are amazing individually and collectively.
Happy shooting!
Vanessa Joy is an NJ NYC wedding photographer. You can keep up with her on Instagram, Facebook, and Pinterest!